Advice & Inspiration
Fan Trained Trees: The Complete Guide
- What is fan training?
- Why grow one?
- What trees can be trained as a fan?
- How to fan train a tree
- Pruning fan-trained trees
- Other training methods
What is fan training?
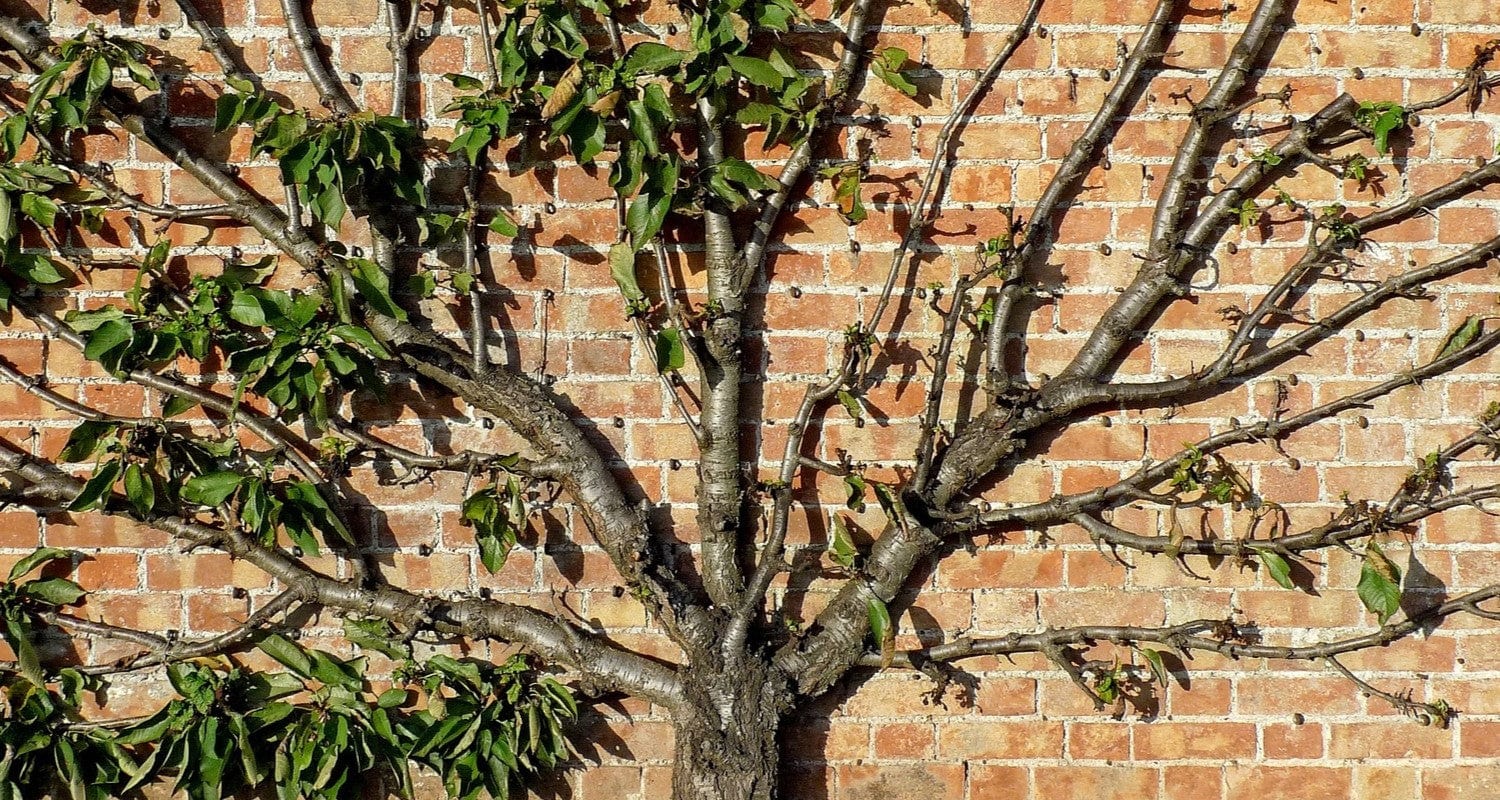
A fan is similar in many ways to an espalier – both are trained against a wall, however here, the branches are trained upwards at various angles in a classic fan shape, rather than outwards in horizontal tiers. Thought to date back to at least the Ancient Egyptians, it’s safe to say that this method of fruit tree training has been practised for a seriously long time!
Why should I grow a fan-trained tree?
Stone fruits need a sunny, sheltered position to produce a large crop, and so training them flat against a wall is ideal, as they’ll absorb the warmth from it. Spacing the branches out in a fan also allows more air to circulate between them, preventing fungal diseases and ultimately producing better fruits. Plus, they have the added benefit of looking absolutely stunning!
Fans are most commonly used for stone fruit (drupes) which can’t be espaliered (due to the pruning methods needed for espalier training). The following trees can all be trained into fans: apple trees, pear trees, cherry trees, plum trees, peach trees, apricot trees, nectarine trees, fig trees and almond trees.
How to fan train a tree
Planting
Before you begin the training process, you first need to plant your tree. Dig a hole and plant your tree roughly 20cm away from the wall or fence you’re training it against. Angle your tree slightly towards the vertical surface. Your surface should be at least a couple of metres tall, and will need a horizontal wire system to tie-in your tree’s branches.
Initial training
There are three tree types available to you to fan train – a pre-trained fan, a maiden (one-year-old tree without branches) or a feathered maiden (a maiden with branches). Below, we’ll take you through the various steps depending on what tree you have.
Part/pre-trained tree
This is the easiest way to fan train a fruit tree because much of the initial work has already been done for you. Take your tree and cut back the central leader all the way to the branches growing out at a 45° angle. If growth seems poor on those branches, cut them back by around one-half to two-thirds, and a bit less if the branches seem to already be growing strongly. Tie in your branches to the wire support.
Maiden
You’ll need to reduce your tree’s leader in the springtime to around 35-45cm, making sure to leave a few healthy buds. Then, that summer, tie the pair of branches that have grown from the buds into bamboo canes at a 45° angle. At this point, you can remove any other branches that have started to develop. The following spring, cut back your angled pair of branches by roughly two-thirds, trimming to an upwards-facing bud.
Feathered maiden
The same process applies for a feathered maiden as it does an unfeathered maiden – cut the main leader back, again, to a height of between 35 and 45cm, down to a strong pair of branches. Follow the same tying-in process as above.
So, you’ve now got the basis of your fan – yay! What next?
Creating the fan shape
Whichever tree you started with, what you should now have is a tree with strong branches (either a pair or maybe more if you started with a pre-trained tree). In June, pick roughly four shoots from each main branch. One at the tip, two on the upper part of the branch and one on the lower side. Take these young branches and tie them to your wire support at a 30° angle.
Trim away any branches/shoots that are directed inwards towards the wall, and trim back any other shoots to just a single leaf. Next spring, reduce those four branches you tied in previously by roughly a quarter to a third. Continue to tie-in your main branches as they grow, and if there’s room left available, tie-in any remaining shoots.

Pruning fan-trained trees
Once your fan-trained fruit tree is nicely established, it will need proper pruning to keep its shape and keep it as productive as possible. How and when you prune your fan depends on the fruit you’re growing.
Stone fruits (drupes)
When?
June to August
How?
This depends on the fruit in question:
Sweet cherries, apricots and plums
Your pruning aim with these trees is to keep a nice mixture of older and newer growth, as you can get fruit from both. At the start of summer, tie new shoots into your wire support and get rid of any shoots that are growing towards your wall/fence. Then, pinch your new shoots back to around five or six leaves.
When August rolls around, create spurs for next year’s fruit by reducing those newer shoots even further (from five or six to just a few leaves). Every so often, you’ll want to carry out some replacement pruning, cutting older wood back to newer growth. A couple of branches each year should be plenty.
Sour cherries, peaches and nectarines

Apples and pears (pomes)
When?
August
How?
Trim recent shoots (those growing from your fan’s main arms) that are longer than 15-20cm (the length of a small trowel or pair of secateurs) back to a few leaves beyond the basal cluster. Similar pruning is needed for other shoots, except you’ll want to trim these back to just a single leaf beyond the basal cluster (rather than three).

Gooseberries and currants
When?
June and January
How?
In summer, take any recent shoots and pinch them to roughly six leaves. During winter, facilitate the formation of fruiting spurs by trimming those same shoots from the summer back to just a couple of buds.

Figs
When?
April
How?
Trim around half of the shoots that fruited last year to a length of roughly three centimetres. Take the other, remaining shoots and tie them into your wire support, making sure to leave plenty of space between each arm (about 25 centimetres).
Continue to build up your fan by tying-in shoots as and when they develop. At the start of summer, use your finger and thumb to pinch out a third to a half of the new shoots on your primary framework of branches – this will help promote greater growth.

A brief look at other training methods
Espalier trees
Alongside fan training, espalier is probably the most well-known and common fruit tree training method. Espaliers consist of a central leader growing vertically against a wall or fence, from which tiered pairs of horizontal branches grow outwards. Apples and pears are the most common espalier fruit trees.
Stepover trees
A stepover is a one-tier espalier tree (usually apple) grown on a miniature rootstock. They’re so low you can literally step over them and they’re often used as boundaries in allotments and kitchen gardens.
Half-standard trees
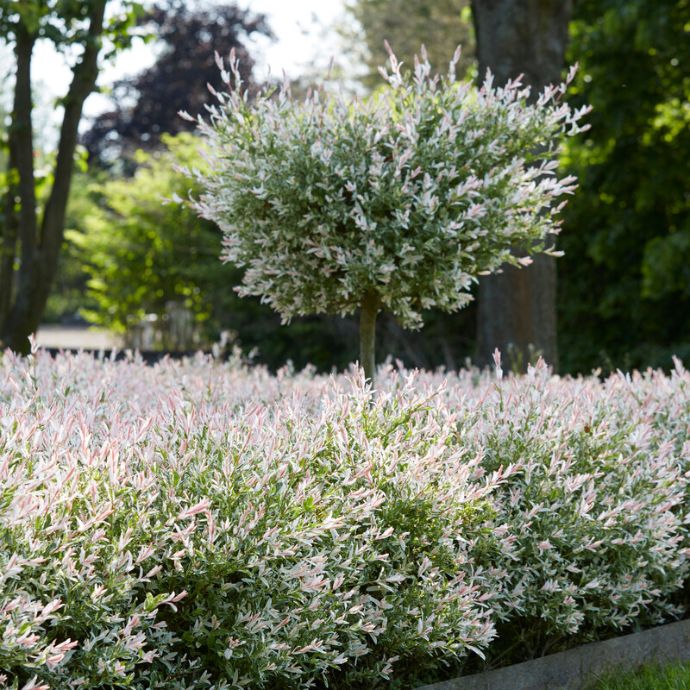
Half standard trees have a straight main trunk with the lower 1.2-1.5m of branches pruned off. You can also find standards, quarter standards and three-quarter standards, but the half standard is the most popular for fruit trees. They can be described as having a ‘lollipop’ shape.
Cordon trees
Also known as columnar trees, cordons consist of a single leader – either grown vertically as a standalone tree or at an oblique angle, trained against a wall – from which short, fruit-bearing spurs branch off. Cordons are a brilliant option for those gardeners limited on space who still want to grow their own fruit.
Final thoughts
There you have it! Hopefully, having read this you’ll have a good idea of what to do when it comes to fan-training a fruit tree. If you have any more questions, don’t hesitate to get in touch – we’d love to hear from you!

