Advice & Inspiration
Storing Apples Picked at Home

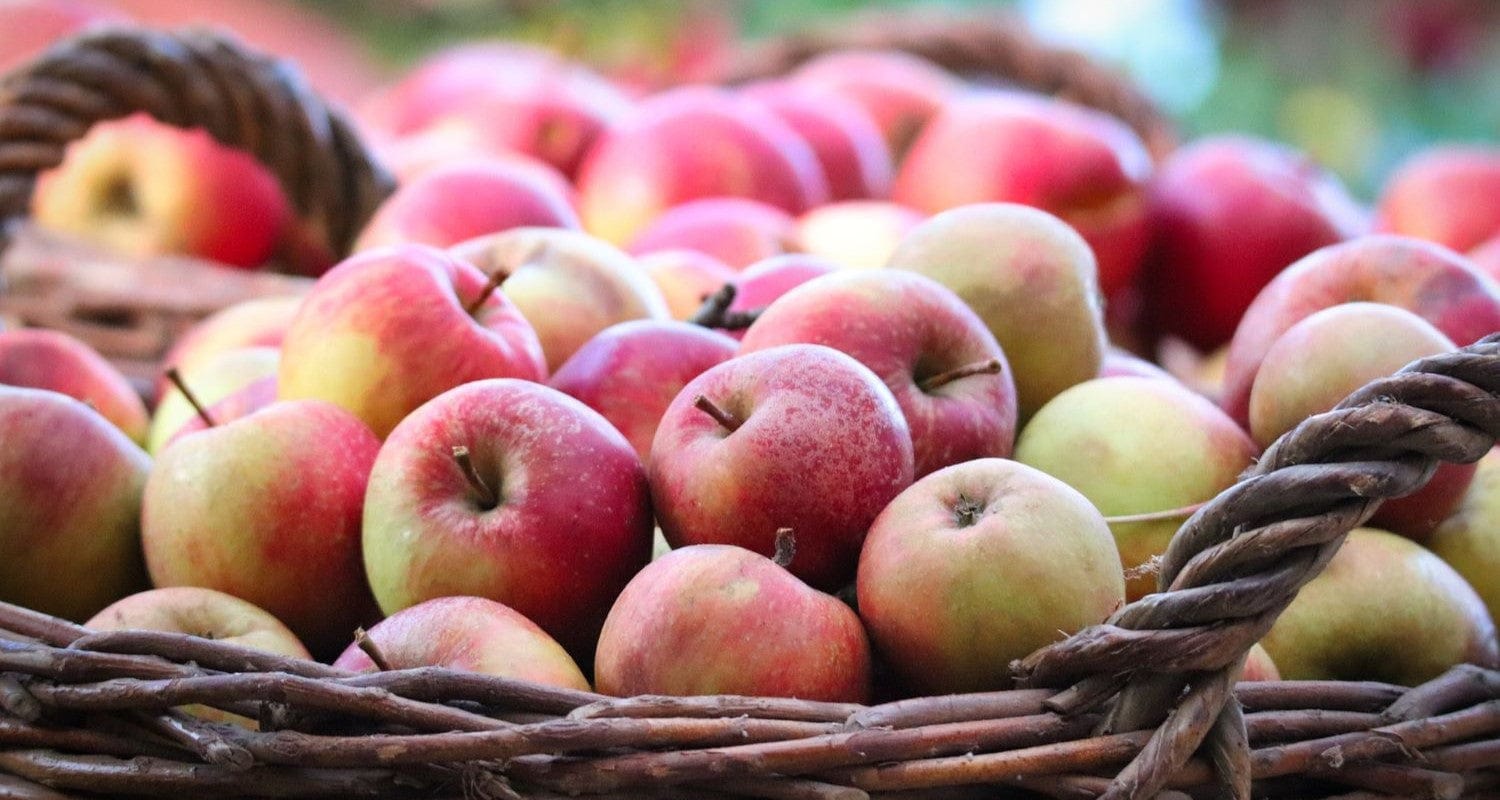
How was your apple harvest this year? Now you’ve picked them all and piled them up on the kitchen table, what’s next? However good they taste, you probably can’t eat twenty apples a day for the next fortnight, but on the other hand you don’t want them to go off before you have the chance. Filling the freezer with ten batches of homemade apple sauce is all very well, but who has the time and space to do that? Don’t worry, we’ve put together this easy guide to harvesting and storing apples so that you don’t waste any of your carefully nurtured crop.
Jump to:
- Picking apples
- Best apples for storing
- How long do apples last?
- Best conditions for storing apples
- Short term storage
- Long term storage
- Preserving apples
- Don’t forget about them
Picking apples
Your apples are ready for picking when you can hold them in your hand, give the gentlest of twists and they come off easily. For storage purposes, pick only firm, unbruised and unblemished apples, leaving the stalks on if you can. Those with cuts or bruises can let moulds and infections in, which will quickly spread (contrary to what you may have heard, one bad apple can spoil the whole bunch).
The best apples for storing
In terms of storage, not all apples are equal. If you’re picking from an established tree there’s not much you can do about this, but you might want to consider it if you’re choosing a new one.
The best keepers tend to be firm and tart apples with thicker skins. As a general rule, early varieties like Discovery (picked in August) don’t store well and are best eaten within a couple of weeks, but later harvests (picked between late September and November) actually ripen and improve in storage and can potentially be kept right throughout the winter in the proper conditions. Late varieties that store well include Bramley, Cox’s Pippin, Fiesta, Queen Cox, Jonagold, Kidd’s Orange Pippin, Rubinette, Pixie, Kingston Black, Herefordshire Russet, Winter Gem and Ashmead’s Kernel.
How long do apples last?
How long apples last depends on how you store them and what kind of apples you have.
Most apples will last for about a week on the kitchen counter and up to six weeks in the fridge.
If stored properly in the conditions detailed below, mid to late season apples can be stored for anything up to six months.
What are the best conditions for storing apples?
The ideal place to keep your apples is somewhere dark and cold (but not freezing) with high humidity - but if you don’t have a creepy basement under your house, that’s fine. There are plenty of other ways you can make your apples comfortable.
Short term apple storage
If you’ve only got a small quantity of apples (say, two carrier bags full), you can easily keep them fresh in the salad crisper drawer of your fridge (or as it’s known in my house, the place where sauce bottles go to die). Make sure it’s clean, dry and free of abandoned sauce bottles, then place your apples into paper bags or line the drawer with sheets of kitchen towel before loading it up.
Using the salad crisper keeps your apples separate from other fruit and vegetables in the fridge - important as they release ethylene gas as they ripen, which can reduce the life of other fresh produce.
Apples stored this way will last for a few weeks or even months, which is inconvenient if you have a lot of say, cheese, to refrigerate in December and need the space, but makes a good short term solution.
Long term apple storage
For larger quantities of apples, you’re looking at longer term storage, so you’re going to need to get clever if you want to enjoy those precious apples for months. You don’t need any elaborate equipment for apple storage; these are some options suitable for any budget.
£££
A traditional wooden rack or shelf makes it easy to keep a good airflow between the apples, but can be pricey unless you build your own like this guy.
££
Mid-range options include buying wooden crates (or get them out of a skip round the back of the greengrocer’s if you’re lucky - I’m legally obliged to tell you to ask first). You can also buy fairly inexpensive cardboard apple trays online, which have separate spaces for each fruit. They’re not especially durable but at least you can add them to the compost heap if they break.

£
Store your apples for free by simply using cardboard boxes - supermarkets are usually happy to give these away if you ask. Alternatively, look on Facebook or in skips for old filing trays - lots of universities, schools and offices are getting rid of them as they increasingly go paperless.
Now you’ve got something to keep them in, it’s time to prepare your apples for storing.
1. Wrap them up
Wrap each apple individually in a sheet of newspaper, brown paper or kitchen roll - avoid shiny paper like magazine pages or giftwrap as this isn’t breathable. If you don’t have any suitable paper, you can line your storage boxes with layers of straw deep enough to keep your apples from touching.
2. Keep them apart
To prevent rot and mould, it’s really important to keep your apples spaced out so they don’t touch. If you have two or more different apple trees, it’s also a good idea to store apples of the same variety together rather than mixing them, as ethylene from the faster developing apples could spoil the more slowly ripening ones.
3. Pack them
Gently place your wrapped up apples in their boxes or whatever storage container you’re using. Leave plenty of space between them and if you’re stacking the boxes, make sure you can easily access them when you want to retrieve or check on your crop. If you’re using a rack, you don’t have to put the apples in boxes, just place them directly on the shelves.
4. Keep them in a cool, dry place
You’ve wrapped, separated and boxed your apples - what now? You’ll need to find the perfect place to keep them, and that’s a cool, dry spot which is easy to access and won’t dip below freezing over winter. Any of these places will do just fine!
Garage
As long as the garage is attached to your home or another heated building, it shouldn’t get to freezing inside, and will provide the perfect cool, dark spot for your apples.
Shed
Again, the shed is fine providing the temperature inside it doesn’t fall too far during winter.
Porch
Your porch shouldn’t get too much sun throughout the winter, so as long as you keep an eye on any sunny glass panels this is another good option.
Utility room
If you’ve got a utility/laundry room or similar room that’s kept cooler than the rest of the house, this will be ideal. It’s also got the advantage of being more easily accessible if you don’t want to go out to a cold shed in the dead of night!
If all else fails, a wardrobe or cupboard can work well. It’s likely to be dry and dark, but make sure the temperature doesn’t get too high inside.
Preserving apples
If you have a particularly large apple crop and some spare time, you can give a gift to your future self and make your apples last even longer by drying them or cooking them to freeze.
Drying apples
Dried apple slices make a great topping for porridge and muesli as well as being useful in baking and lunchboxes. If you have a food dehydrator, drying the slices is easy, but you can also use your oven. The process does take around eight hours, so make sure you have enough fruit to fill the oven.
After washing, peeling, coring and slicing your apples, heat your oven to 100°C.
Lay out the apple slices on a baking tray or grill rack and check them regularly to see if they’ve reached the level of chewiness/crispness you want. Dried apples can be stored in an airtight container for up to two months or in the freezer for up to six months.

Freezing apples
Freezing apples whole is a definite no, and freezing them in chunks doesn’t work well - it’s going to have to be apple sauce. Grab the biggest pan you can find, peel, core and chop your apples then add them to a simmering pan with boiling water to cover them and a little lemon juice to stop them going brown. A cooking apple like Bramley or Grenadier is best for apple sauce, but most ordinary dessert apples will do just fine. You can choose to add sugar or not, but remember to make a note on the freezer bags/boxes if you do, as you don’t want to accidentally sweeten it again when you defrost it and potentially spoil a recipe. When your apple is cooked down to a smooth puree (you can help it along with a stick blender if you like), let it cool before freezing in bags or lidded containers. You can use your defrosted apple sauce as a meal accompaniment, in cakes as an egg substitute and more.

Don't you forget about me
If you’ve stored your apples somewhere you don’t often go, such as a garage or shed, make sure you don’t forget they’re there. I'm not being patronising, honestly - I’ve actually done it!
If this sounds like you, set a reminder or put it in your calendar to go and raid the apple store regularly. This is also a good opportunity to check that all your apples are ok and remove any that are looking dodgy.


