Advice & Inspiration
Related articles


How to Make Cider
Few things are as refreshing as a pint of cold cider on a hot summer’s day. But why go to the hassle of trying to find a spot in an overcrowded pub garden when you can have your very own homemade cider, instead? And while the prospect of creating your own cider might seem daunting, the reality is that it’s easier than you might think. In this post, we’ll be exploring how to make homemade cider, including the best apples to use, the benefits of going homemade and, of course, the process itself.
Jump to:
Best varieties of cider apple
While, technically speaking, any apple can be used to make alcoholic cider (or hard cider for any American readers), there are certain varieties which have traditionally been used in the cider-making process. These ‘cider’ apples are more bitter, drier and acidic than dessert apples; qualities which, while not so good for eating, make for an excellent beverage. We’re particularly fond of ‘Dabinett’ and ‘Kingston Black’ here at Roots, thanks to the dry, full-bodied ciders they make.
Benefits of homemade apple cider
There are many benefits to making cider using your own apples. For one thing, it’s incredibly satisfying! Cooking with your own vegetables and baking with your own soft fruits is both fun and rewarding, and making cider with apples you’ve grown yourself is no different. Beyond that, it’s also nice to know exactly what’s gone into something you’re consuming – no nasty surprises in terms of artificial chemicals or anything like that.

How to make your very own cider
To make your own cider, you’ll need the following:
-
Apples (roughly speaking, you’ll get 1 litre of of juice per 2kg of fruit)
-
Apple mill (for pulping)
-
Apple press (for extracting the juice from the pulp)
-
Demijohn, bung and ‘bubbler’ airlock
-
Siphon and container (for ‘racking’)
-
Hydrometer (and accompanying jar), Campden tablets and cultured yeast
Note: instead of an apple mill, you can use a food processor to create your pulp, and instead of an apple press, you can strain your apples through a cheesecloth to extract the juice.
Harvesting and cleaning
Your first step is to gather the stars of the show – the apples. Apples can be ready for picking at various times, depending on the variety, but if you’re using the cider apples referenced above, then both ‘Dabinett’ and ‘Kingston Black’ apples will be ready to harvest from late October to early November. Once your trug is full, discard any that look worm-eaten, and give the remaining viable apples a good clean.

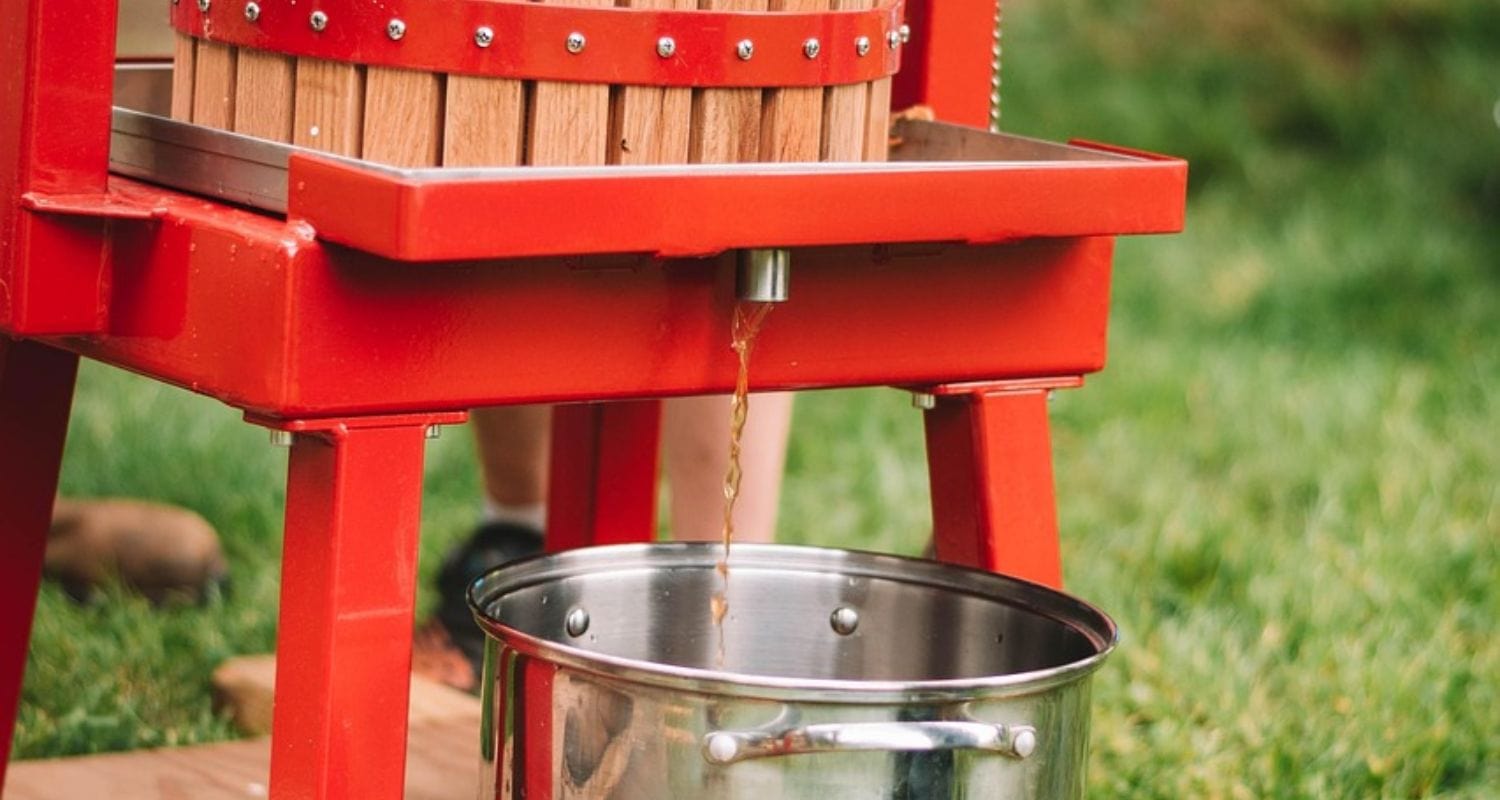
Pulping and pressing
Once you’ve collected your apples you need to pulp them, then press them. If you’re using a mill to pulp your apples, simply feed them into the machine’s hopper and let it get to work. If you’re using a food processor, it’s worth quartering your apples into slices to make it a bit easier for the machine’s blades to get to work.
The pulp you’ll be left with will resemble a kind of puree, and this is what you’ll want to press to separate out the juice from any solids (the leftover of which is called pomace). Put your puree into your press and crank the handle round (or press it gently through your cheesecloth/muslin). Collect the juice into a container, ready for the next step.

Fermenting
Sterilise your demijohn and add your juice, then a Campden tablet (a sulphur dioxide tablet which helps mitigate against spoilage) at a ratio of one tablet to every five litres of juice. Leave for 24 hours then add your cultured yeast. Leave the vessel in a mild place and wait for signs of fermentation (CO2 bubbling at the surface). Once the fermentation has started, add a bung fitted with a bubbler airlock to allow the gas to escape.
You’ll know when fermentation has finished when three things happen: firstly, the liquid begins to turn clearer, secondly, the bubbling that’s been going on stops, and finally, a solid sediment (called ‘lees’) has formed at the bottom of the jar. Next, you’ll want to separate liquid from the lees in a process called racking. Using a siphon, transfer your cider into a new container, which should be sealed and left to mature (also known as secondary fermentation) to help improve the taste. How long you leave your cider depends on personal preference in terms of flavour.
Bottling
To bottle your cider, check no sugar remains using your hydrometer (you’re looking for a value of 1.000 or below) and then sterilise your bottles before filling them. Add your cider to your bottles, and then add your priming sugar (which adds carbonation, a bit of sweetness and a preservative effect) – 10g per litre works well as a general rule, but you can also use an online calculator if you want to be a bit more exact.
Cap your cider with some inexpensive crown caps, using a capping device, and you’re good to go! While your cider will probably keep for around a year or so if properly stored, it will probably taste best after a couple of months or so. Proper storage involves keeping your bottles in a cool, dry and dark place.

Final thoughts
Who doesn’t love a project? And making your own cider, using your own apples? Well, that’s one of the very best projects out there! Don’t worry if you’re not a drinker, though, because we’ve also written a guide on how to make your own apple juice, as well as some scrummy apple-based recipes.


