Advice & Inspiration
Related articles

How to Plant Clematis
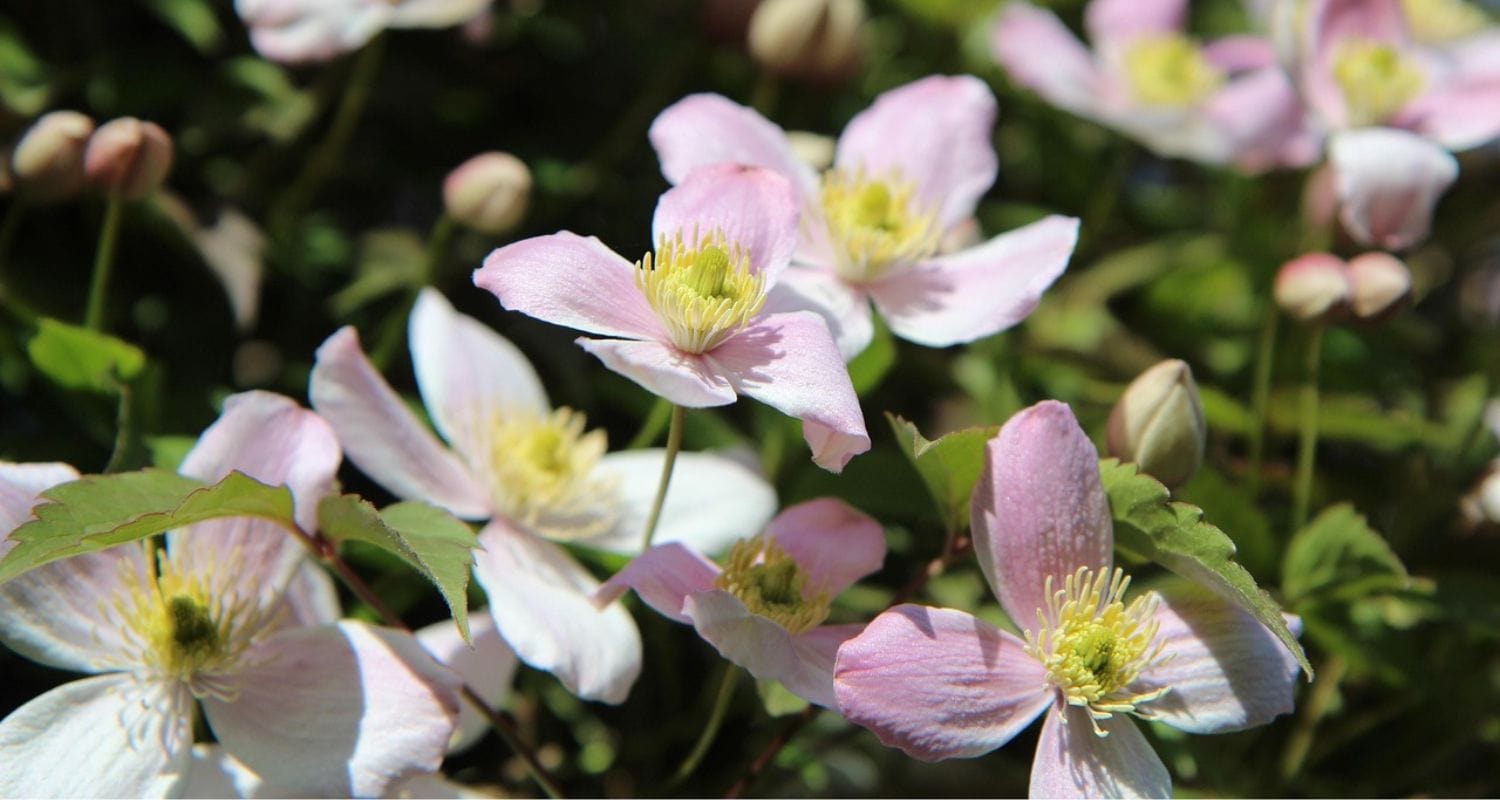
Clematises are incredibly distinctive and impactful climbers, producing showy, highly diverse blooms alongside lush foliage. There are hundreds of clematis species and thousands of different recognised cultivars. It’s worth knowing how to properly plant one, so that you can grow a happy, healthy plant that’ll adorn your garden with brilliant blooms for many years to come. In this post, we’ll be looking at ground-planting clematises, how to plant a clematis in a pot, as well as any initial training requirements, post-planting.
Jump to:
- Planting a clematis in the ground
- Tying in your clematis
- Planting a clematis in a pot
- Are there planting differences for the individual clematis pruning groups?
How to plant clematis in the ground
Before planting your clematis in a bed or border, ensure your soil is moist and fertile with good drainage. If you’re worried it’s a touch on the heavy side, consider amending with a bit of compost or some horticultural sand. Clematises can be planted at any time of the year, but you should avoid planting during drought periods or when the soil is waterlogged or frozen.
If you’re planting your clematis against a trellis, fence or wall, dig the planting hole roughly 30-45cm from the surface. Any closer and you risk stunting your plant’s root development. Dig your planting hole 5 to 10cm deeper than the plant pot height, and roughly twice as wide. You can also consider adding some slow-release fertiliser to the planting hole if your soil is poor. You can also dig in some John Innes No. 3 compost just to give the soil another extra little boost.
Note: if you’ve added compost, then your planting hole might need to be dug deeper initially to compensate for the added material and ensure that your plant’s root ball can still be covered.
Remove your clematis from its pot, teasing apart any roots that look particularly tight or bound. Don’t worry too much if you accidentally damage some of them, as this can actually stimulate new root growth. Place the plant in the centre of the planting hole, angling it ever so slightly towards the surface you’re growing it against. This helps avoid the ‘rain shadow’ effect commonly seen when planting in the lee of a wall or fence. It can also make it easier to tie your plant into its support.
Backfill your planting hole, firming the plant in and giving it a good watering. Apply mulch around the base of the plant to keep it shaded; clematis plants are unusual in that, typically, their root system prefers shade whilst their top growth enjoys full sun. Alternatively, you can use a root protector if you want something a bit more aesthetically pleasing. Good job, you’ve officially planted your clematis! Now what?

Tying in your clematis
While clematis plants are twining by nature, they benefit from tying in when young to help new growth as it establishes, giving it a guiding hand so to speak. Something like garden twine or raffia is ideal for this. Tying in your plant’s stems can also help lead to more even, spreading coverage across your wall or fence, and reduces the risk of the growth becoming a tangled mess.
You want your ties to firmly secure the stem to the support, without pinching into the growth. You don’t want them too loose or too tight, you want them to be Goldilocks ties – just right. For plants that have arrived with bamboo cane supports, you can use these to initially steer your stems towards growing up the vertical surface.
As your clematis establishes, its twining tendrils will wrap themselves around the netting or trellis (or obelisk if you’re planting a free-standing clematis) you’ve got supporting it. At this point, the function of tying-in reverts solely to helping steer the plant’s growth in the direction you want it, rather than offering any wider structural support.

How to plant clematis in a pot
Certain clematis varieties are also suitable for container growing, and there are just a couple of things you need to consider when pot-growing your clematis. Firstly, the material of the pot, itself. Because clematis roots like to be kept cool, opt for a container that doesn’t absorb heat easily – terracotta is the best choice if you can afford it. Wooden planters are a good, less expensive alternative.
Use a loamy compost like John Innes No. 3 as your planting medium, and consider raising your pot onto feet to ensure water can drain more freely. In terms of feeding, you can either apply a slow-release pellet fertiliser at the start of spring, or a monthly liquid feed throughout the growing season. Container-grown clematises will require more routine watering than their ground-grown counterparts, as the compost will dry out more quickly than garden soil.

Are there any differences between clematis pruning groups?
Clematises can be split into three categories based on their pruning requirements. Group one clematises typically flower in winter or early spring, group two clematises are usually early summer flowering, while group three clematises normally bloom in late summer or early autumn. The good news for you? Their planting requirements are exactly the same!
Final thoughts
Whether you’re after an evergreen clematis, the showiest summer flowers or a variety that’s suitable for growing in a container, we’ve got you covered. Check out our guide on finding the right clematis for your garden, and make sure to take a look at our list of the very best climbers, which – spoilers – may or may not feature a clematis…


