Advice & Inspiration
Related articles


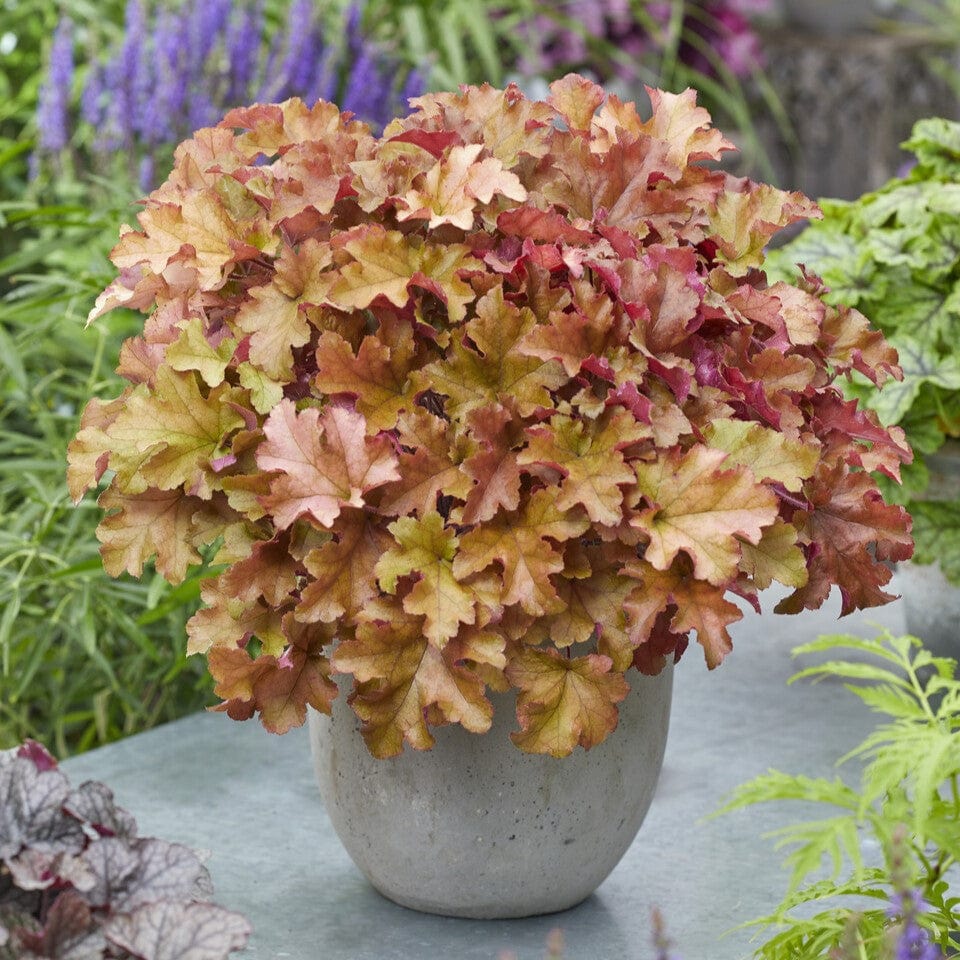
Heuchera Propagation Guide
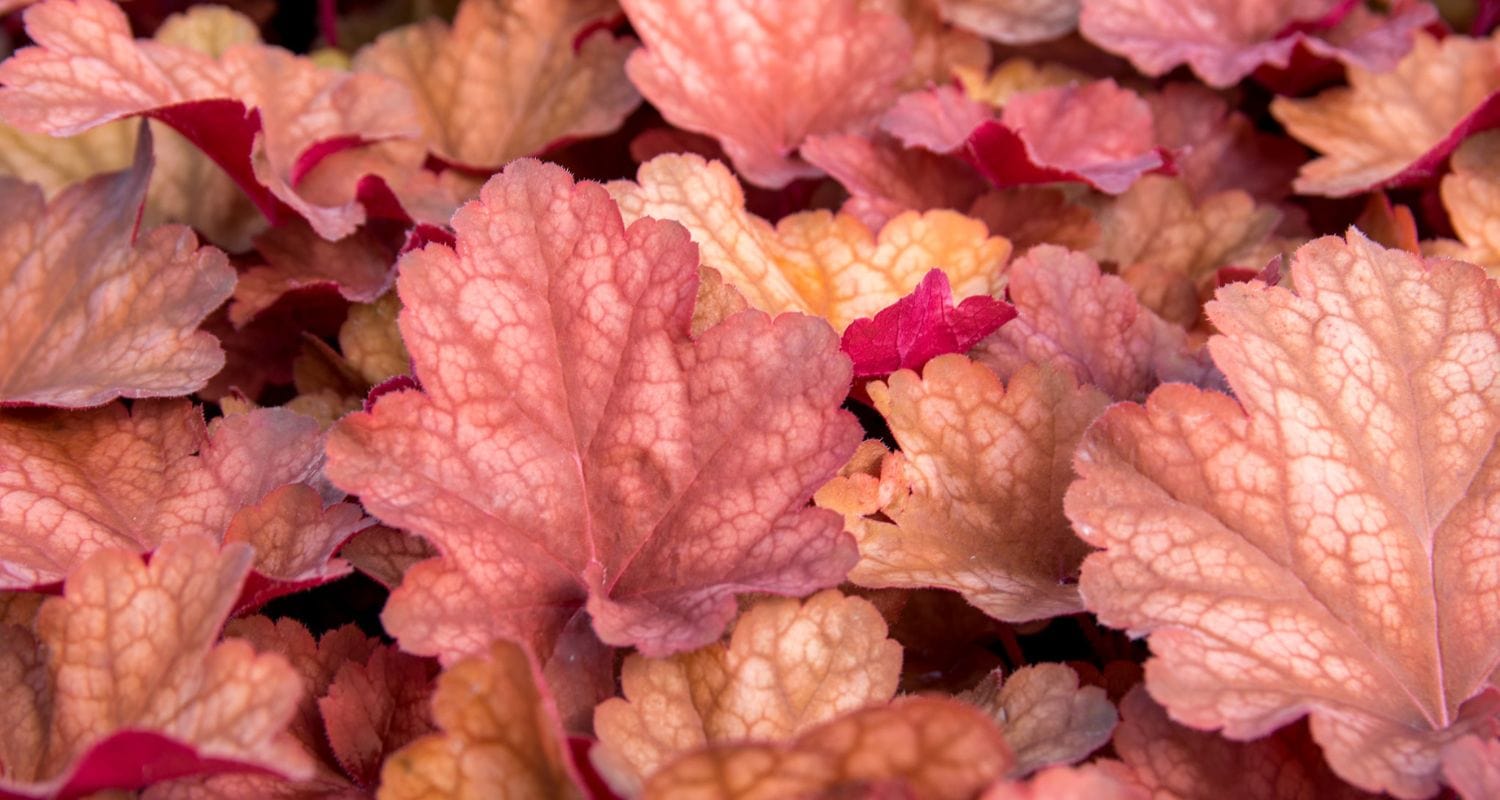
Heucheras (also known as coral bells) are delightful little perennials, known for their frilled foliage coming in a range of impactful hues. Alongside the lovely leaves, they also produce dainty flower spires in the summer, making these plants an excellent choice for both borders and patio containers.
Great for ground cover and a lover of dappled shade, these versatile plants are well worth growing in your garden. But how can you grow them? The answer, as it turns out, is in lots of ways! In this post, we’ll be talking about all things heuchera propagation, including growing plants from seed, cuttings and plants.
Jump to:
- Propagating heucheras from seed
- Propagating heucheras from cuttings
- Propagating heucheras by division
How to propagate heucheras
So, you’ve decided you want to grow a heuchera (or two) in your garden. Good choice. Now, you can go down the route that most gardeners do and buy yourself a lovely, established potted plant. But if you want to go the whole gardening hog, then you can grow your heuchera from seed, or – if you’ve already got some heucheras in the garden – from cuttings or by division.
Propagating heucheras from seed
Growing your heuchera(s) from seed is a great option for those looking to take absolute control of their gardening practice (and the best option if you’re looking to grow lots of plants). It’s easy to do as well! Purchase your heuchera seeds online or at your local garden centre if they have them, and prepare a medium in which to sow your seeds.
For this, we’d recommend a peat-free seed planting compost (they’re easy enough to find, big compost brands like Westland and Levington supply good options). Find yourself a cheap propagator or make one yourself using the base of an egg carton and a plastic fruit punnet (or several) as the lid(s).
Sowing the seeds (January to March)
Sprinkle your seeds onto the compost, pressing them ever so slightly into the substrate (but making sure not to cover them). Place your propagator in a warm, light place and leave for one to two months. When the seeds have germinated and grown into seedlings, you can transplant the individual plants into an individual cell tray (this process is also known as ‘pricking out’).
Pricking out
Use a ‘widger’ (a wonderfully named tool) to gently ease the seedlings from the compost, with any handling being done on the leaves, not the delicate stems which are prone to breaking. Fill each individual cell within your tray with an establishing plant compost mix (which has a slightly higher nutrient content and coarser texture). Keep in a warm, dry place and water occasionally to ensure the compost doesn’t dry out.
Hardening off/planting out
Once the seedlings have grown into healthy young plants, you can begin the process of either hardening them off (if you live in a colder part of the country) or planting them out straight into the garden. You should do this once the last risk of frost has passed, so that your new heucheras aren’t shocked by the cold, having previously been grown in a lovely warm environment.

Propagating heucheras from cuttings
If you want to skip the germination process, then you can go down the cuttings propagation route. This follows similar steps to the previous method, just without the initial germination stage; growing from cuttings is essentially the same as growing on your transplanted seedlings.
Using a clean, sharp knife, cut a stem from your plant, then dip it in rooting hormone, then plant your cuttings in the same way you would seedlings grown from seed, using a cell tray, inserting the cutting to around half-depth. Repeat this process so that you’re left with several planted cuttings. Water, then cover with either a plastic bag or a humidity dome.
Place your cell tray in a warm, light position, and make sure to keep the compost moist, watering from time to time. It should take your cuttings roughly seven weeks (give or take a week) to take root. Like with seedlings, once the cuttings have grown into strong, healthy-looking plants, they’re ready to transplant into their final position.

Propagating heucheras from plants
If you’ve already got some heucheras growing in your garden, then you can use the lift-and-divide method of propagation. This method is perfect for clump-forming perennial plants, of which the heuchera is one. Primarily carried out in spring (best for heucheras) or autumn, this method is both quick and easy to do. Perfect for the busy gardener.
Using your garden fork, carefully lift your heuchera plant out of the ground. Once you’ve got your plant, tease apart the roots into smaller clumps. These will be your new plants. The key is that each clump of roots has at least a few healthy-looking shoots growing from it.
Pot on these clumps into individual containers, using a potting-on compost – consider adding some extra horticultural grit to improve how well the compost drains, as heucheras need ample drainage in order to thrive. You know the drill by now, once the plants have grown into vigorous, healthy plants, they’re ready to plant out.
The best time of year to plant them is either autumn or spring; while they can also be planted in summer or winter, these seasons lend themselves to dry soil or frozen/waterlogged soil, which makes it more difficult for your plant(s) to establish properly.

Final thoughts
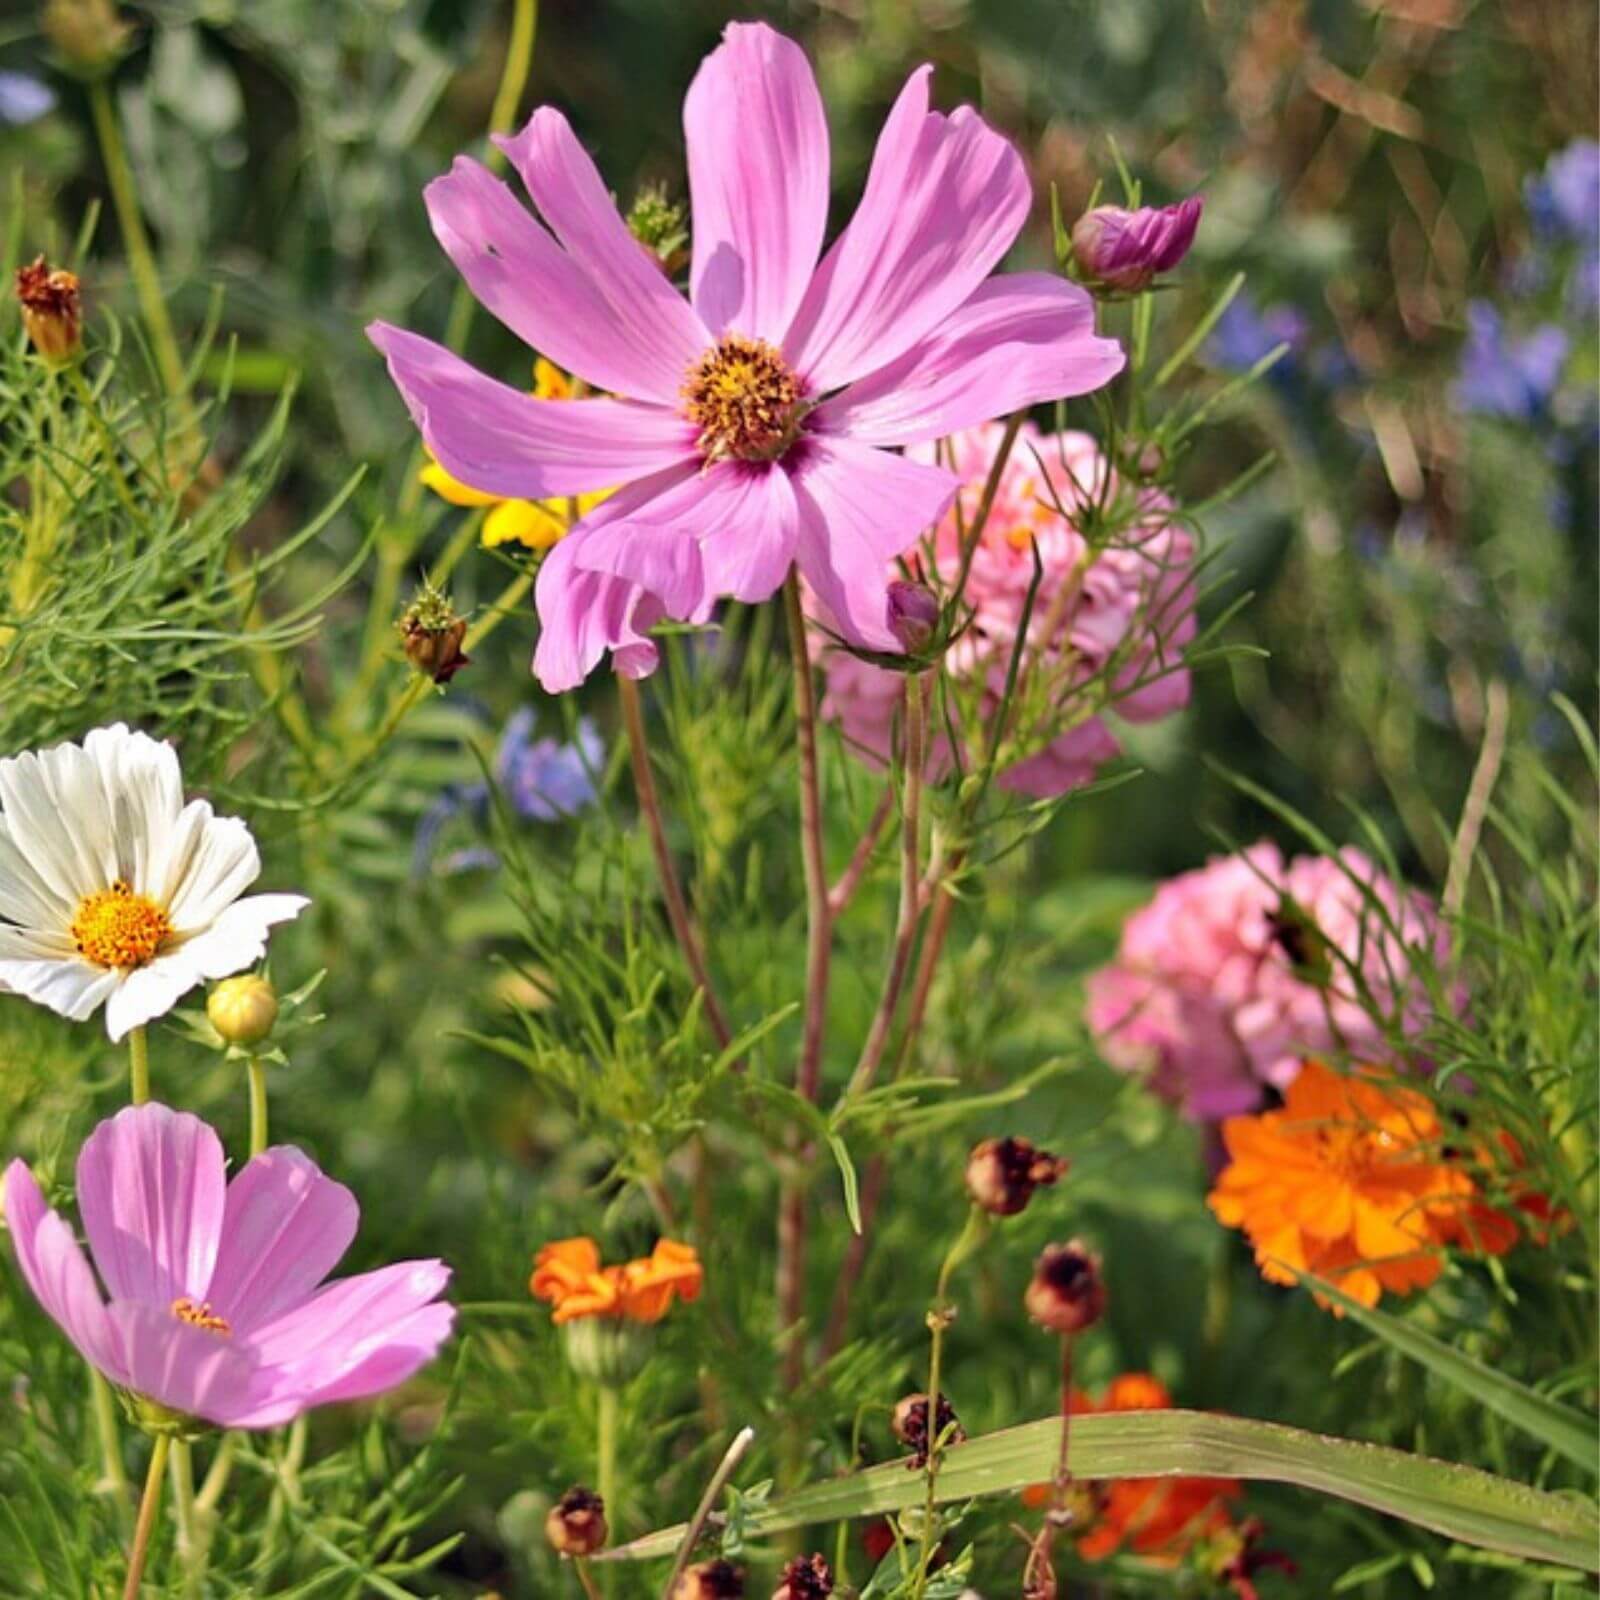
The humble heuchera is a shining light in any border planting scheme, working especially well in shadier gardens, alongside tiarellas, astilbes, ferns and hostas. Hopefully, having read this, you’ll have more of an understanding of how you can grow your own happy heuchera plants, and do so using a number of different methods.