Advice & Inspiration
Free Plants: The Top Three Ways to Get Plants on a Budget

Everyone loves a bargain, and we gardeners are more canny than most. So what’s the best way of getting more plants without shelling out a fortune?
We’ve all been tempted by ‘economy’ packs of cheap plants and special offers out of season, but from bitter experience, these will turn up too small to survive, at the wrong time to plant and you’ll be disappointed. I’ve done this many times and ended up with about a third of the plants surviving, which made them poor value for money in the end.
Rescuing dead-ish plants from the garden centre’s reduced shelf sometimes yields the odd winner, but it’s a bit hit and miss. I’ve had a few successes with plants given away on local social media groups, but they often need some TLC and you’ll need to check for care instructions online or you could end up killing it or introducing an invasive species to your garden (I tend to plant them in pots until I’m sure!).
The best source of free plants that you know you can rely on is your own garden. Take cuttings, divide your established perennials and collect seeds from plants that have flowered and you’ll be able to fill your garden several times over - or trade with friends to get new varieties. If you have a local plant and seed swap, you could take them there - or even sell them!
Here are our top three ways of making your plants go further and getting new ones for free.
1. Dividing perennials
After a few years in the ground, your perennial plants might be looking overgrown or getting too big for their space - the time has come to divide and conquer! Dividing simply means digging up your plant and dividing it into two or more plants by separating the clump of roots.
When to divide
For most plants, which bloom in summer, dividing should be done in spring (March-May) before flowering or autumn (September-November) after flowering. Spring flowering plants (such as Irises) are best divided in summer (June-August).

Image source: Flickr.
How to divide
The right way of dividing depends on the kind of root system your plant has, with different methods for fibrous roots, woody crowns and corms. All of these are covered in detail in our plant dividing guide.
Dividing means that you’ll not only make more space for your original plant (which will show its appreciation by producing more flowers and new foliage) but you’ll also get at least one new plant which can be potted up or used to fill a space in another part of the garden. If you’ve divided it in autumn the new plant may look underwhelming, but rest assured it will put on new growth and burst into life in the spring.
Best plants for dividing
Perennial plants with a clump forming habit are the best for dividing. These include ajuga, agapanthus, crocosmia, delphinium, eryngium, euphorbia, hardy geranium, hellebore, heuchera, hosta, iris, ornamental grasses, primula (primrose), rudbeckia, salvia, sedum and verbena.

2. Taking cuttings
Taking cuttings is a great way of sharing your plants with other gardeners, as well as being a good insurance policy against bad weather. It involves cutting off a part of an established plant, then giving it the right conditions to develop its own roots and grow into a new plant.
When to take cuttings: softwood, semi ripe or hardwood?
The three main types of cuttings are softwood, hardwood and semi ripe - these refer to the time of year you take the cutting and the age of the stem, and are all proven to have a good success rate.
- Softwood cuttings are the current season’s stems, taken from around April to June. Usually from deciduous shrubs, trees and perennials, they’re soft, flexible and green and should root quickly.
- Semi ripe cuttings are taken from around July to September, still from the current season’s growth. The base of the stem is likely to be a bit tougher, but the top is still green and flexible. This is the method to use for climbers, herbs and evergreen shrubs or hedging plants.
- Hardwood cuttings are taken in the dormant season (November to March) and will be brown and woody. These are suitable cuttings for deciduous climbers, trees and shrubs, as well as evergreens.
The best time to take any kind of cutting is in the morning, when the plants are full of moisture.
How to take cuttings
- Using clean, sharp secateurs or a garden knife, take a piece of stem about 5-6cm long from the plant, cutting just below a leaf joint (node). This should be a side stem without flowers or buds.
- Remove all of the leaves except for the top pair. If these are large, cut them in half. This will reduce the demand on the stem for water, while still allowing the plant to photosynthesise.
- Next, remove the tip of the stem. The plant’s natural growth hormone is most concentrated at the top, so by doing this, you’re encouraging it to travel downwards and form roots more quickly.
- Plant your cuttings as soon as possible - if you can’t do it immediately, you can store them in a sealed plastic bag for an hour or so. Put your cuttings into a pot of lightly moistened seed and cutting compost, making sure that one node is under the soil. You can also help them along by dipping the cut ends in rooting powder before you plant them. Your cuttings need a place to grow that’s warm and light but not in direct sunlight.
- To stop your cuttings losing moisture, create a mini greenhouse by covering each pot with a plastic bag or a plastic bottle with the bottom cut off. If it gets too humid in there, you can create ventilation by removing the bottle top or poking holes in the bag.
- Check your cuttings regularly and keep the compost consistently moist. You can also root cuttings in jars of water - this way you can see exactly how the roots are getting on.
- When your cuttings have taken root and started growing new leaves, you can pot them on into larger containers or into the ground.
If you’re taking cuttings from succulents or cacti, the method is different - you’ll need to leave them a few days to callous over before rooting them, or they’ll take in too much water and rot.

Best plants for taking cuttings
Most plants can be propagated by cuttings. Some of the easiest and most successful include:
- Softwood: hydrangea, lavender, buddleja, euonymus, fuchsia, salvia, penstemon, osteospermum, pelargonium (bedding geranium) and escallonia.
- Semi ripe: Salvia, penstemon, lavender, box; perennial herbs including thyme, rosemary and sage.
- Hardwood: Any shrubs, including roses, viburnum, forsythia, hydrangea, weigela; climbers including jasmine, honeysuckle and virginia creeper.
If you have tender perennials which are at risk of dying over winter, taking cuttings makes sure that you always have new ones to plant out in spring, and that you never really lose a plant to frost.

3. Collecting seeds
Seed collecting is the easiest way to get more plants - and it’s even easier if you leave your plants to do it themselves by self seeding. However, if you want your new plants in a particular place or to share them with friends, you’ll need to do that yourself. The best time to do this is in late summer or autumn, when the seed heads have dried out a bit and it’s easier to detach the seeds.
- Using clean secateurs or a garden knife, cut off the seed head, pod or flower spike (some seed heads can be detached by hand).
- Put the seed heads, pods or spikes into a paper bag straight away, so as not to lose any seeds. (Keep each different flower variety in a separate bag).
- Tip the contents of the bag onto a clean surface and sift through them for soil, insects and other non-seed matter including the unwanted parts of the plant. Discard these/release the bugs.
- Transfer the seeds into a clean paper envelope, label and date it. Keep your envelopes in a cool, dry place until needed.
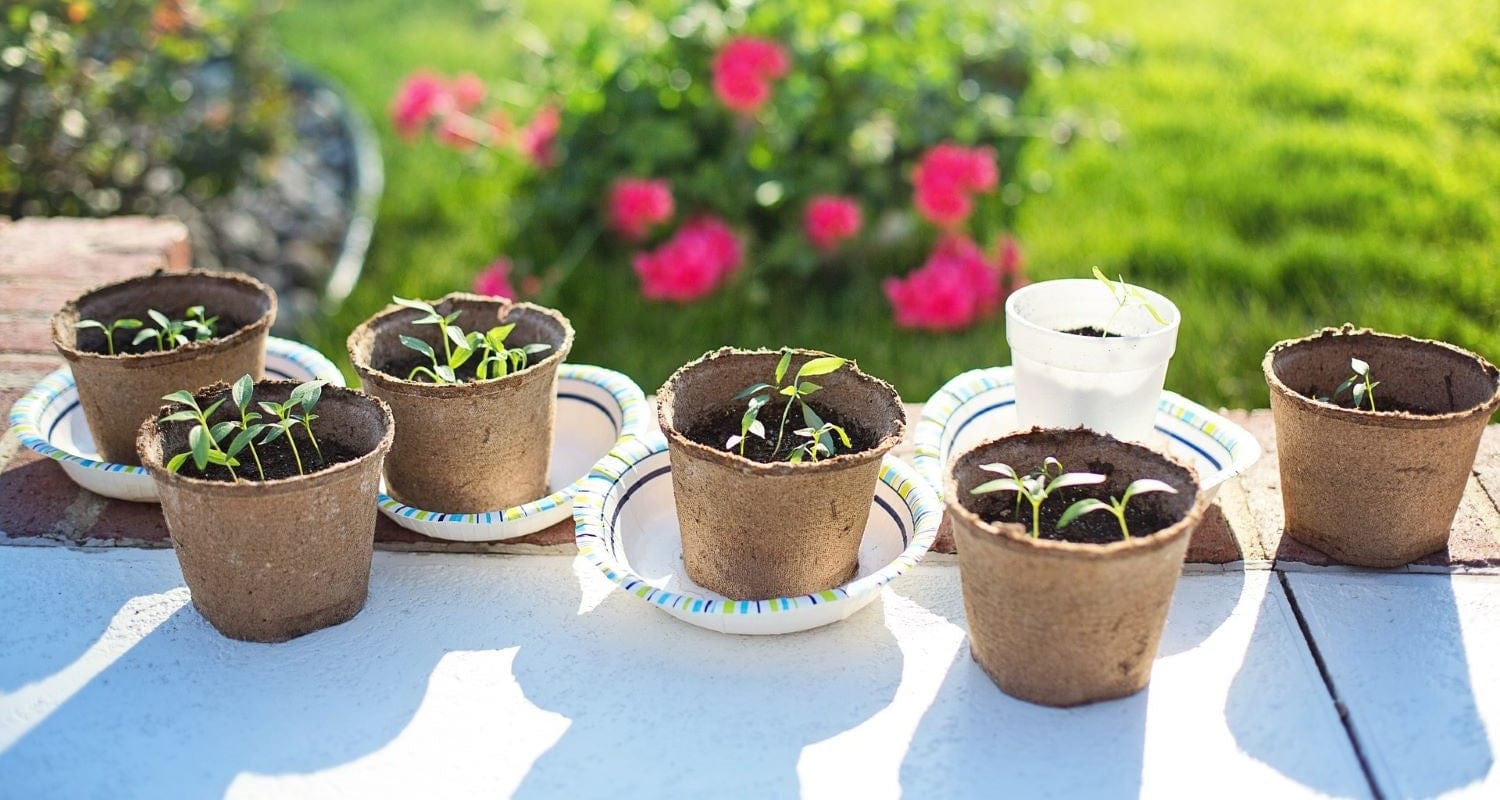
It’s best to sow your seeds within a year, starting them off in small pots, trays or coir pellets indoors in early spring, and planting them outdoors in your chosen spot once the new plants are big enough.

Best plants for collecting seeds
Simply put, if you can see the seeds, you can save them! Perennials including allium, poppy, astrantia, cosmos, zinnia, sweet pea, scabious, aquilegia, foxglove, hollyhock and lupin are all good for saving seed.
There are also plenty of vegetables with collectable seeds too, but be aware that any variety labelled ‘F1’ won’t necessarily produce plants with the same characteristics as the previous ones, as they’re bred for results in one year’s plants only - you’re best off saving seeds from open pollinated varieties. Beans and peas are the easiest to save - simply let the pods dry out and save the dried beans. Seeds from squashes and cucurbits (cucumbers, courgettes and similar) are pretty simple too - you can just put them aside when you cook the vegetables - and tomato seed can also be saved with a little effort. With most vegetable plants, like brassicas and carrots, you’ll have to let them bolt and produce flowers before you can collect seeds from them.


