Advice & Inspiration
Related articles


Pillar Fruit Trees: A Guide to Cordon Growing
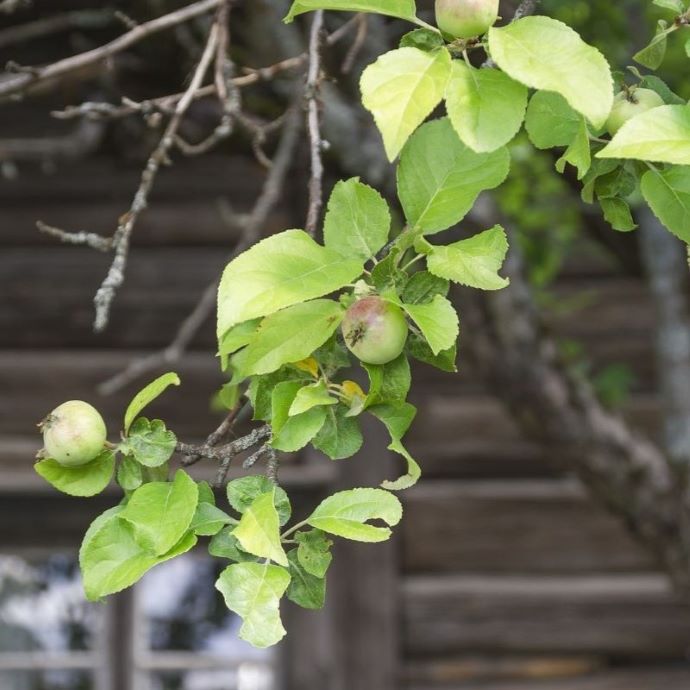
Pillar fruit trees, more commonly known as cordon fruit trees, offer an ingenious, space-saving solution to the age-old dilemma of wanting a fruit tree but having too small a garden. Grown at an oblique angle against a sunny wall, or as a freestanding plant growing to just a metre (or two) in height and half a metre wide, training your fruit tree into a cordon is an understandably popular home gardening practice. In this post, we’ll be looking at pillar fruit trees in more detail, including their benefits, training tips and maintenance instructions.
Jump to:
- What are cordon fruit trees?
- Benefits of cordon fruit trees
- Limitations of cordon fruit trees
- Training cordon fruit trees
- Pruning cordon fruit trees
- General care for cordon fruit trees
What are cordon fruit trees?
A cordon fruit tree is one that comprises a central leader (trunk) and short, fruit-bearing branches called spurs. This differs from the typical bushy fruit tree, which typically features a well-developed framework of longer branches.
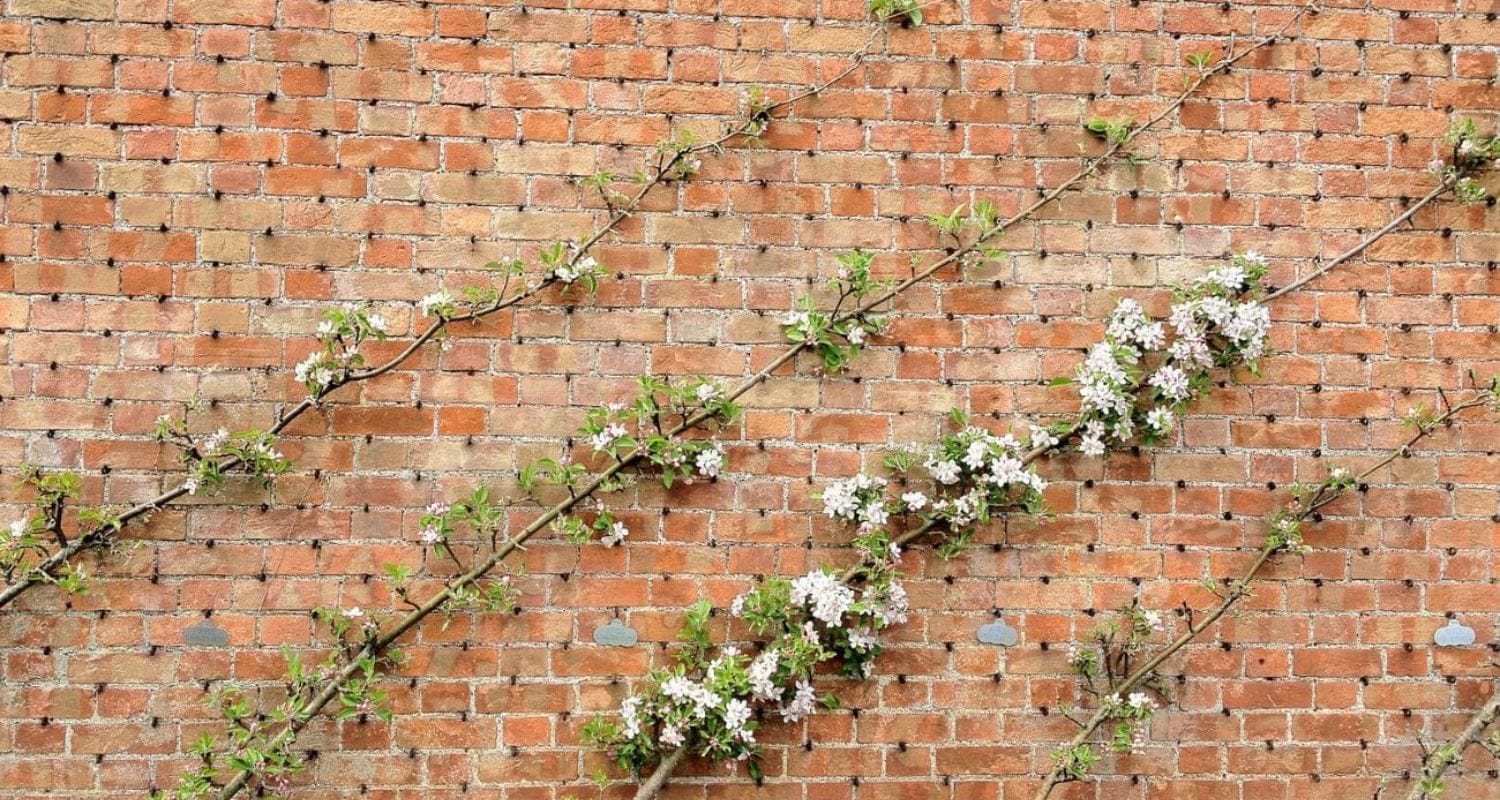
Traditionally, cordons were grown at a 45° angle against a sunny, south-facing wall. Several cordons were planted alongside one another at half-metre to metre intervals, giving a vertical surface that’s both aesthetic and productive. These days, they’re just as often grown as an upright, freestanding tree.
It’s worth noting that most fruit tree training methods, including espaliers, fans, stepovers and Belgian fences, can also be thought of as cordons, however for the purposes of this guide, when talking about cordons we’ll be referring to either the freestanding pillar trees or the angled, wall-trained trees.

The benefits of cordon fruit trees
The major benefit of cordon fruit trees, whether freestanding or wall-trained, is that they take up less space than a conventionally-grown fruit tree. This makes them ideal for smaller gardens or for gardeners with a sturdy wall or fence that’s currently being underutilised.
Being smaller also enables you to grow multiple cordon fruit trees where otherwise you might only be able to grow a single regular fruit tree. Given their relatively diminutive stature, vertical cordons can also be grown in large patio containers. They also look lovely, too, particularly when trained in the traditional oblique style against a wall.
The limitations of cordon fruit trees
There aren’t too many drawbacks to growing a cordon fruit tree, though your pruning requirements will be slightly increased as compared with regular fruit tree pruning. Pruning is particularly important because you’re wanting to keep those productive spurs to ensure your tree keeps yielding good quantities of fruit.
This brings us to the other limitation of cordon fruit trees – overall yield. While you’ll still get good amounts of fruit from your cordon, by the very nature of it being kept smaller and more contained, you’re going to end up with a slightly smaller fruit haul than you would from a huge, spreading fruit tree.
Training cordon fruit trees
You can either train your own cordon fruit tree, or you can purchase a pre-trained cordon that’s already got its initial pillar shape with short, spur-bearing branches, meaning all you have to do is keep on top of pruning, moving forward. Let’s look, though, at training a cordon fruit tree from scratch.
Choosing the right tree for your cordon
Firstly, you want to choose a maiden fruit tree. Maidens are young, whippy (or feathered) trees that have had no formal pruning or training. They’re an arboreal blank canvas, so to speak. You also want to pick a tree that’s been grafted onto a dwarfing/semi-dwarfing rootstock. Why? Well, most people grow cordons for space-saving reasons; the last thing you want is a massively vigorous rootstock that’s going to lead to a tree growing larger than the space allotted to it.
It’s also important you choose a spur-bearing variety of fruit tree, as opposed to a tip-bearing variety. Spur-bearers are more common and produce fruit on short, stubby ‘spurs’ – perfect for cordon growing. Tip-bearers, by contrast, produce fruit on the tips of last year’s shoots. This is most applicable when dealing with apple trees, so take a look at our guide to cordon apple trees for more information on suitable varieties.
Training your cordon fruit tree
Once you’ve chosen your tree, it’s time to plant it and train it. Now, for a freestanding cordon, you don’t need to do any additional training beyond tying it into a vertical support. If you want to grow your cordon in the traditional style, however, then you’ll need to do a bit more.
Firstly, you’ll need to make sure you’ve got a wire trellis in place that you can use to tie your cordon into. Next, take your tree and plant it on the bias at 45°, inserting a bamboo stake at the same angle and tying in the tree. Plant your cordons around 15-20cm from the vertical surface, with roughly half a metre to a metre between plants. Firm your plants in and give them a good watering.

Pruning cordon fruit trees
The most important thing to consider when growing a cordon fruit tree is pruning. After all, a cordon tree isn’t inherently different from any other fruit tree, save for the initial training and pruning that goes on to create the tree’s distinctive shape and short, spur-bearing branches. Without pruning, it can go back to its natural shape over time.
Pruning new cordons (winter)
If you’re starting a cordon from scratch, rather than purchasing a pre-trained tree, then you’ll need to give your new cordon an initial winter prune, post-planting, trimming back any laterals that are over 10cm long to just a few leaves.
For angled cordons, leave the leader unpruned, while with upright, freestanding cordons, reduce that central leader by around about a third each winter. Most pre-trained cordons will already have had this initial pruning carried out, meaning you can skip to the section on pruning established cordons.
Pruning new cordons (summer)
In the first summer after planting, typically in August, older side-shoots should have any new growth stemming from them trimmed back to roughly one leaf after the basal cluster. This is how your fruiting spurs will develop. Any new laterals should be cut back to a few leaves after the basal cluster. Your new cordon tree’s leader should be left unpruned in summer. Simply tie any new trunk growth into the support and that’s that!
Pruning established cordons (summer)
In subsequent summers – or the first summer in the case of already-trained cordons – once your cordon is established, you’ll be happy to know that pruning remains nice and simple (but it is important to keep on top of each year). Again, this should be carried out in August, except for pears which should be done in late July.
For any existing laterals that have previously been pruned, new growth from these measuring over 20cm (or so) in length should be trimmed back to just a single leaf after the basal cluster. As for growth coming in under the 20cm mark? Leave these be. The likelihood is that they’re going to develop into fruiting buds.
Pruning congested cordons (winter)
You want your cordon fruit tree to have spurs for good fruiting, but over time, the tree can end up having too many spurs in too small a space. In these cases, some additional winter spur pruning can be beneficial. Sometimes, it’s a case of quality over quantity! Doing this pruning in winter is recommended because the tree is dormant during this period.
Additional care for cordon fruit trees
Beyond pruning, you’ll want to keep your tree well-watered when establishing, particularly during hot, dry spells. On top of this, a springtime feed using a balanced fertiliser will help give your tree(s) a little boost going into the growing season. By balanced, we mean something with an even NPK (nitrogen, phosphorous and potassium) ratio.
Final thoughts
We reckon more people should be growing cordon fruit trees, and hopefully having read this, you’ll have a good idea of how to go about growing one for yourself. Make sure you check out our other trained fruit guides, including how to espalier apple trees and a complete guide to fan-training.


